How to Laser-Cut an Anime Drawing
One of my (oddly specific) hobbies is laser-cutting anime images. A few MakeHaven members have been curious how, so I wrote a tutorial on making your own.
One of my long-term goals at MakeHaven, a local maker space, has been finding new ways to turn anime art into laser cut art. I'm happy to say I recently made a breakthrough and can make nice-looking anime laser prints with relative ease.
While other MakeHaven members aren't interested in the anime aspect of all this (yet), many have asked how I turned images into laser prints like this. To save time and help more people, I decided to write up a tutorial for just that. This works for most real-life photos as well, so even non-anime lovers can find it useful.
Note: this post assumes basic knowledge of laser-cutting an image at MakeHaven. See their site's guide here for more info.
Find an Image #
The first step in laser-cutting an image is, as you'd guess, choosing an image. Most images will work, but higher quality images will naturally come out better. Try images that:
- Aren't too blurry
- Have moderate to high contrast
- Have good lighting
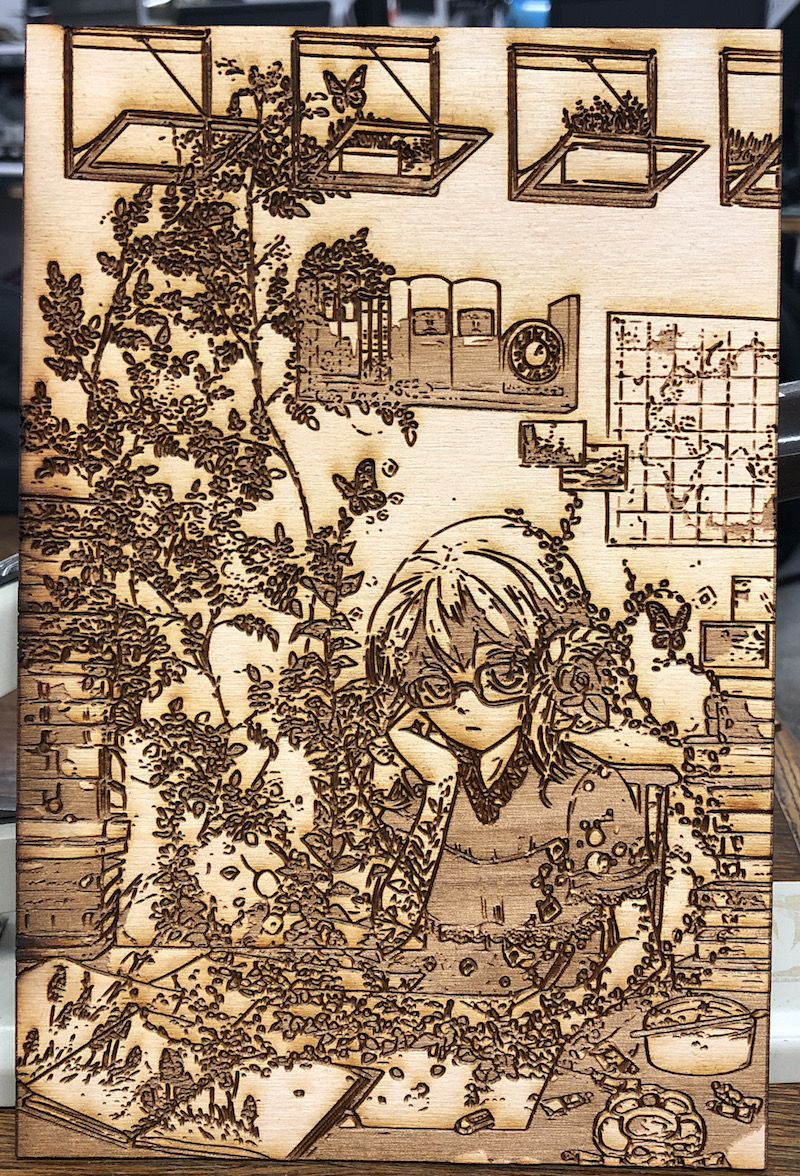
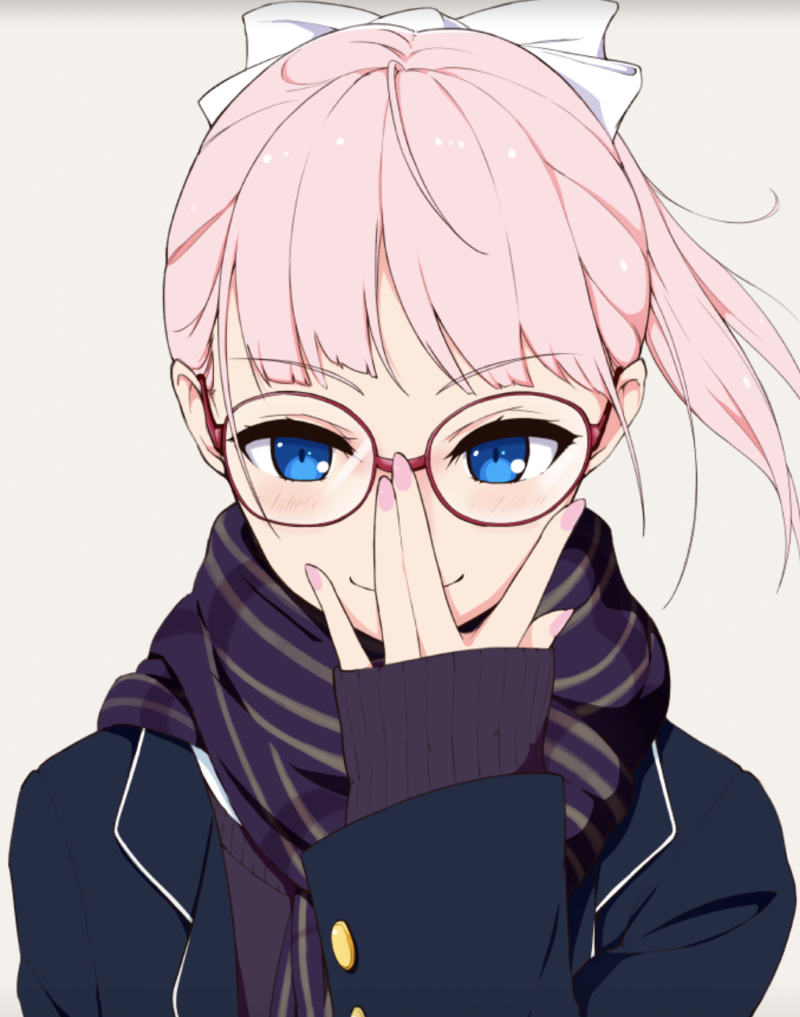
For this example lets go with the first image I laser cut with this technique: an anime drawing of a girl adjusting her glasses. The image is clear, and the contrast and lighting are good, so it should translate well.
Simplify The Image #
The next step is the most important, but also the trickiest. The laser cutter can't use an image this complicated as it is. It has to be simplified into two simple, black and white versions of itself.
Most laser-cut items usually have a single-layered design engraved on them. But I've found you can use two, one darker and one lighter, for more depth. This requires making two simplified versions: the outline and the shadow.
This is done with an online tool from Rapid Resizer, which lets you convert photographs into stenciled versions of themselves. Open it up, load your photo, and create two copies under the following settings.
Make the Outline #
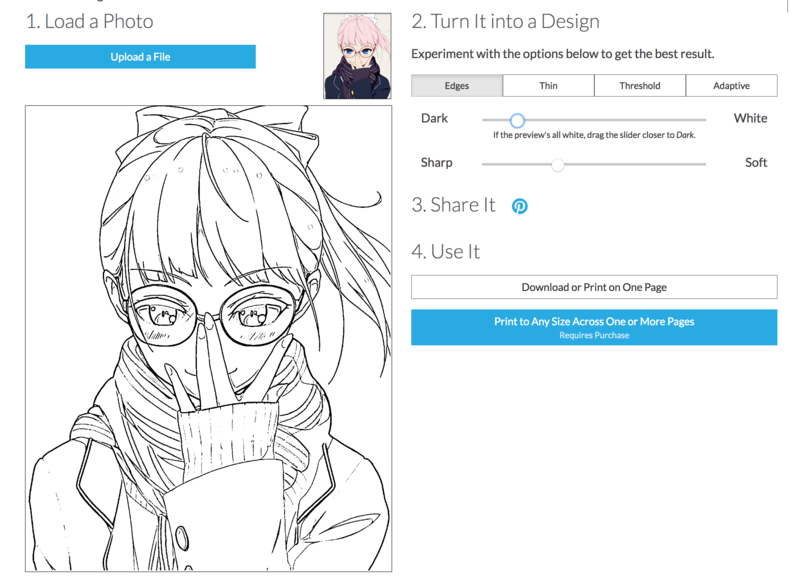
In the app, you'll see four different options in some tabs: "edges, thin, threshold, and adaptive." For the outline, select "edges."
You'll see two sliders below it, "dark/white" and "sharp/soft." There are no standard settings to make a good outline, so you'll need to play around with them until you get something good. I recommend trying the following:
- Start with both at about 75% to the left, towards "dark" and "sharp." Most outlines I've made have wound up around here.
- You'll likely get spots of "noise" in the image background. Moving the top slider more to "white" can help remove them. Get rid of as much as possible, but don't worry if you can't get rid of them all without damaging the outline. You can remove them later on if needed.
- The better-quality your photo is, the easier it'll likely be to get a good outline.
For my example photo, I got a good outline without much tweaking. Once it's ready, hit "Download or Print on One Page" and save a copy of the image.
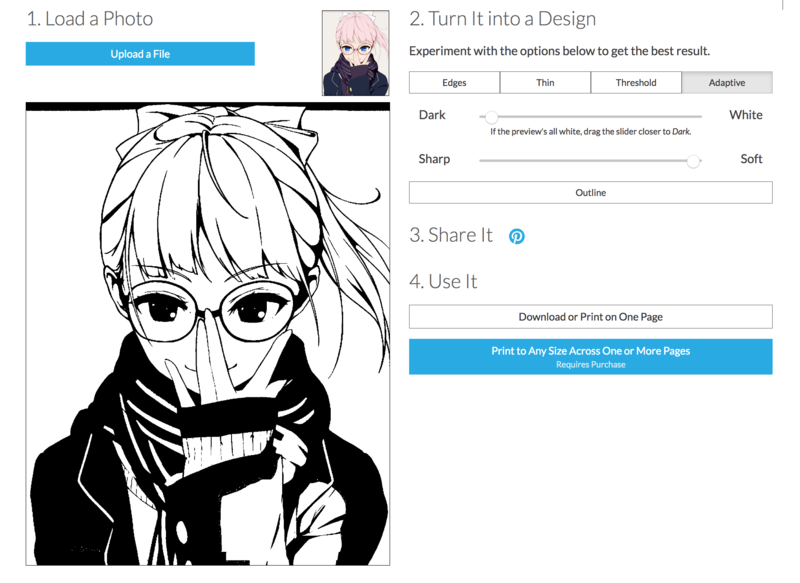
Make the Shadow #
Switch over to the "adaptive" for making the shadow. You'll see the same two sliders, but this time around it's a lot easier.
Slide the first one to the left for "Dark," and the second to the right for "Soft." Most of the time you'll have a usable shadow image right there unless you need to move the "dark/white" a bit to the right for any noise.
In this example, no adjustments are needed.
Convert the Images on Inkscape #
Now that we have our images, we need to prepare them for the laser cutter. Like with most laser cutter projects, we'll do so in Inkscape. Open up a new file and import both images. I recommend putting them in separate layers so they're easy to manage.
Tracing the Images #
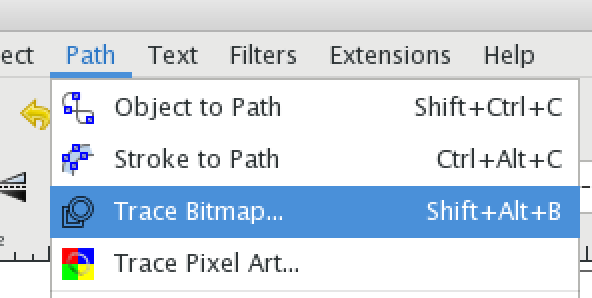
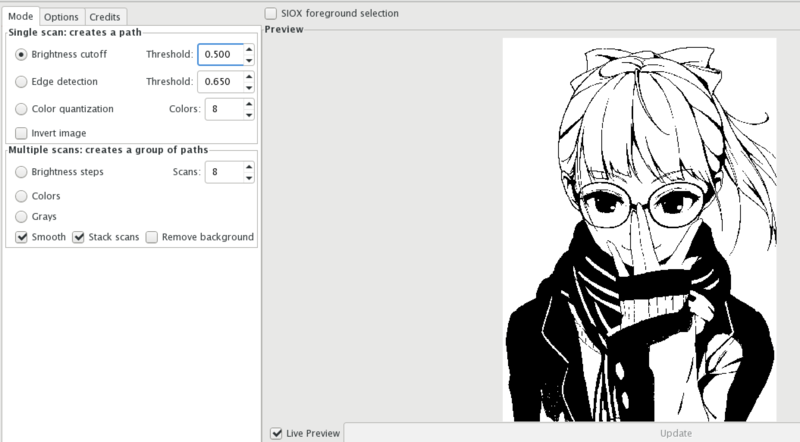
Right now the images are just that, standard images. We need to convert them to bitmaps to properly edit and send them to the laser cutter. Select one image, then from the menu select "Path > Trace Bitmap..."
You'll see a window like the one below pop up. There are lots of settings for how to trace the image, but we don't need most of them. Use the same settings as below, "Brightness Cutoff" with a 0.5 threshold, and you'll trace it just fine.
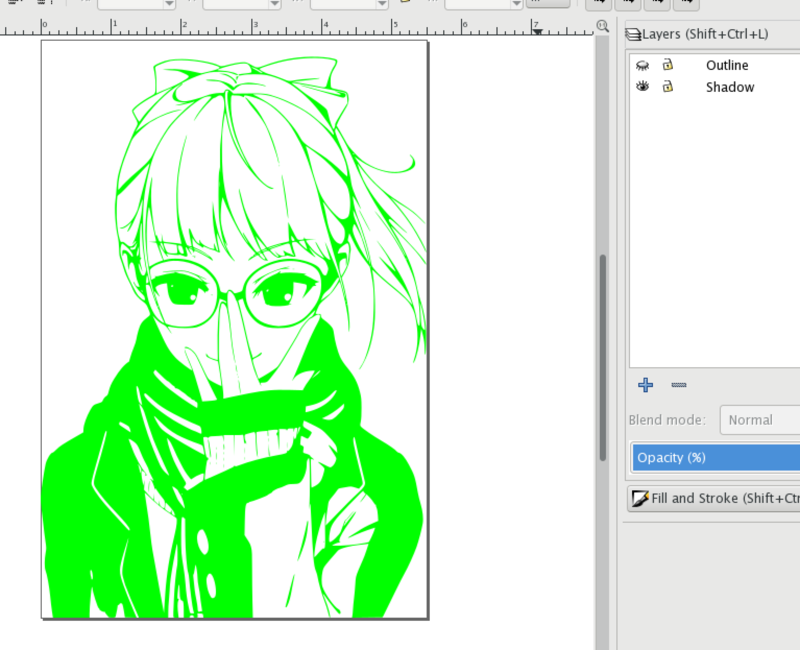
When you close the window, you may wonder where your new version of the image went. Tracing an image puts the bitmap version right over the original, so click it, drag it away, and delete the original. You now have a laser cutter-friendly version of your image - in this case, the shadow version.
I recommend making the shadow fill a pure green color, using the "fill and stroke" window. You can use whatever color you want though, as long as it's purely that color so the laser cutter recognizes it.
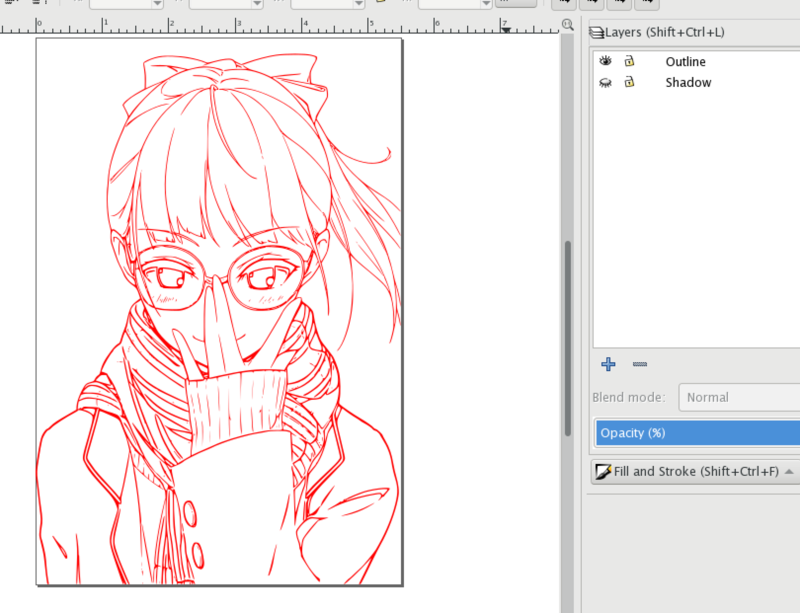
Do the same thing for the outline image, except make it a different color. My preference is red since it contrasts well with green.
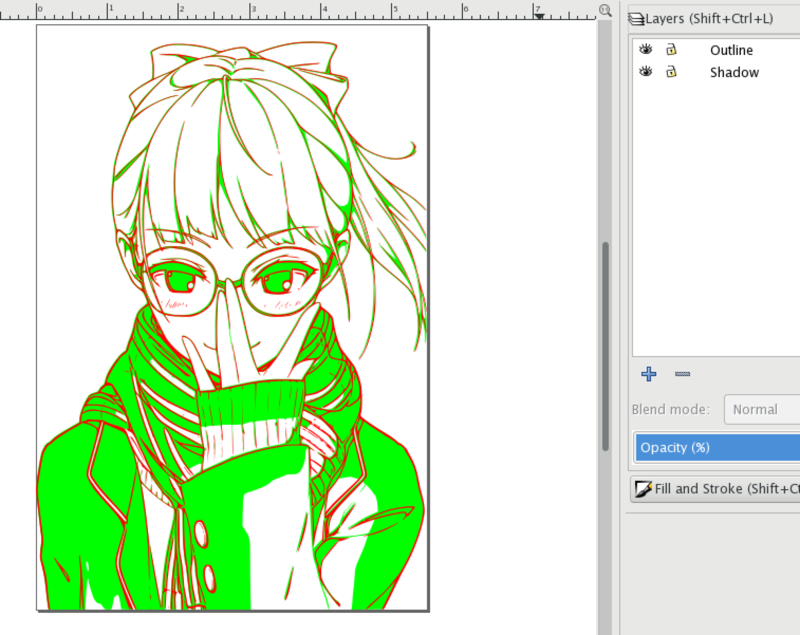
Lastly, position the images so the outline is just above the shadow (this is where keeping them in separate layers helps). You should now see something like this, with both coming together to form something quite close to the original. The outline layer should be visible over the shadow layer in areas they overlap! If the greens and reds fight it out, the red should be on top (literally).
Delete Extra Noise #
This is a good time to delete any extra specs or noise from either layer if needed. Select the layer, zoom in on the affected area, and select "edit paths by node" from the sidebar. You can then select and remove the nodes making up the shapes to remove.
I recommend zooming in because if there are many nodes visible on the screen, it takes longer to load them all. The closer you get, the less you see, the faster it goes.
Laser-Cut the Image #
Once you've got your image ready, all that's left is exporting it to the laser cutter with the following settings. This post assumes it's being cut into a piece of wood.
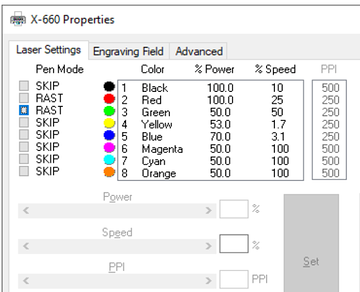
The logic behind this is pretty simple:
- The red "outline" layer gets the usual "raster engraving" settings with 100% power, 25% speed, and 500 PPI to create a standard dark cut.
- The green "shadow" layer gets the same with half the power (50%) and twice the speed (50%). This creates a lighter but still visible cut for the "shadow" effect alongside the outline.
If this is your first time running a setup like this, I recommend testing it on a scrap piece of wood first. If it checks out, use your original material and watch the laser go!
Enjoy! #
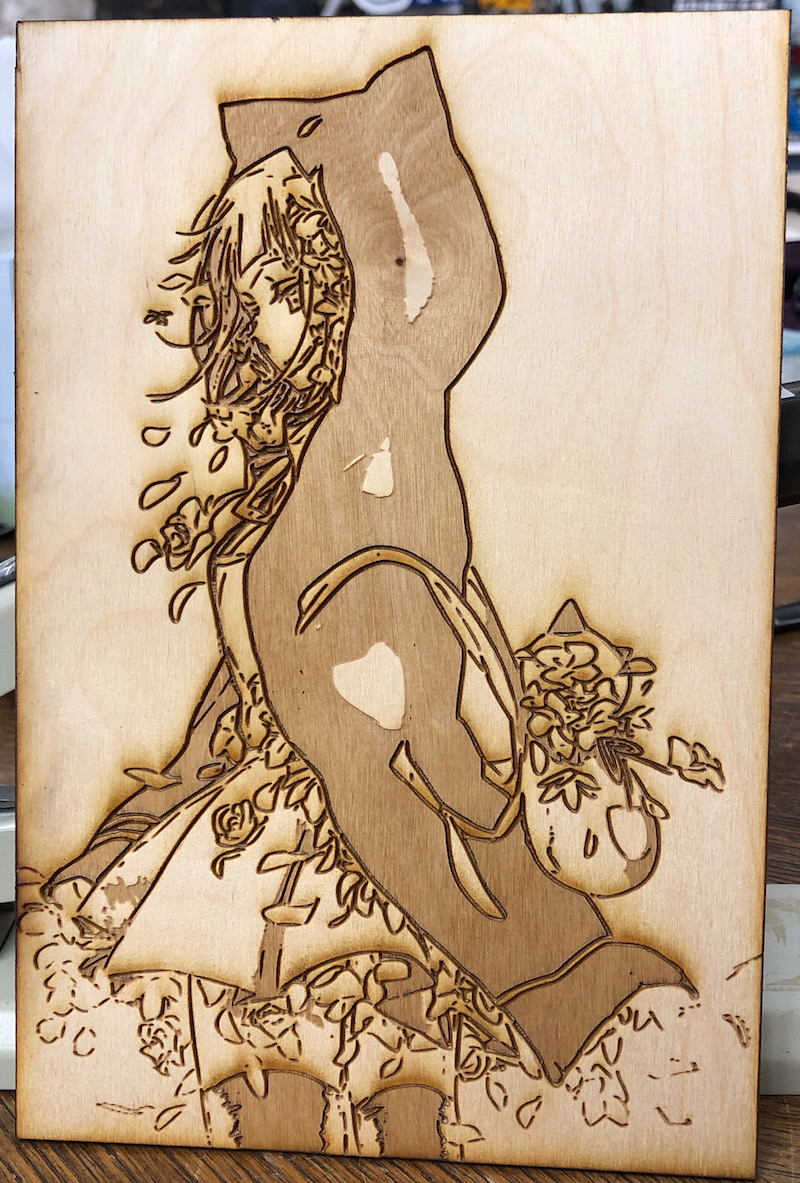
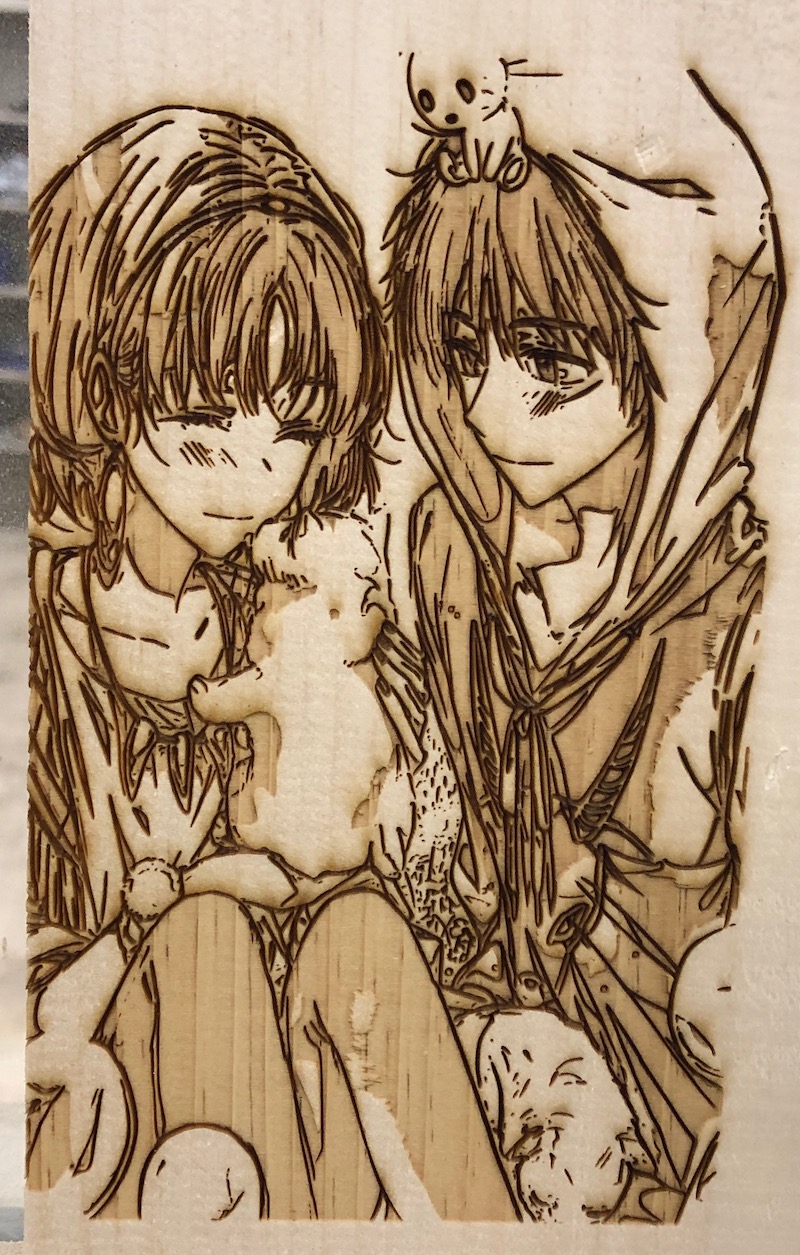
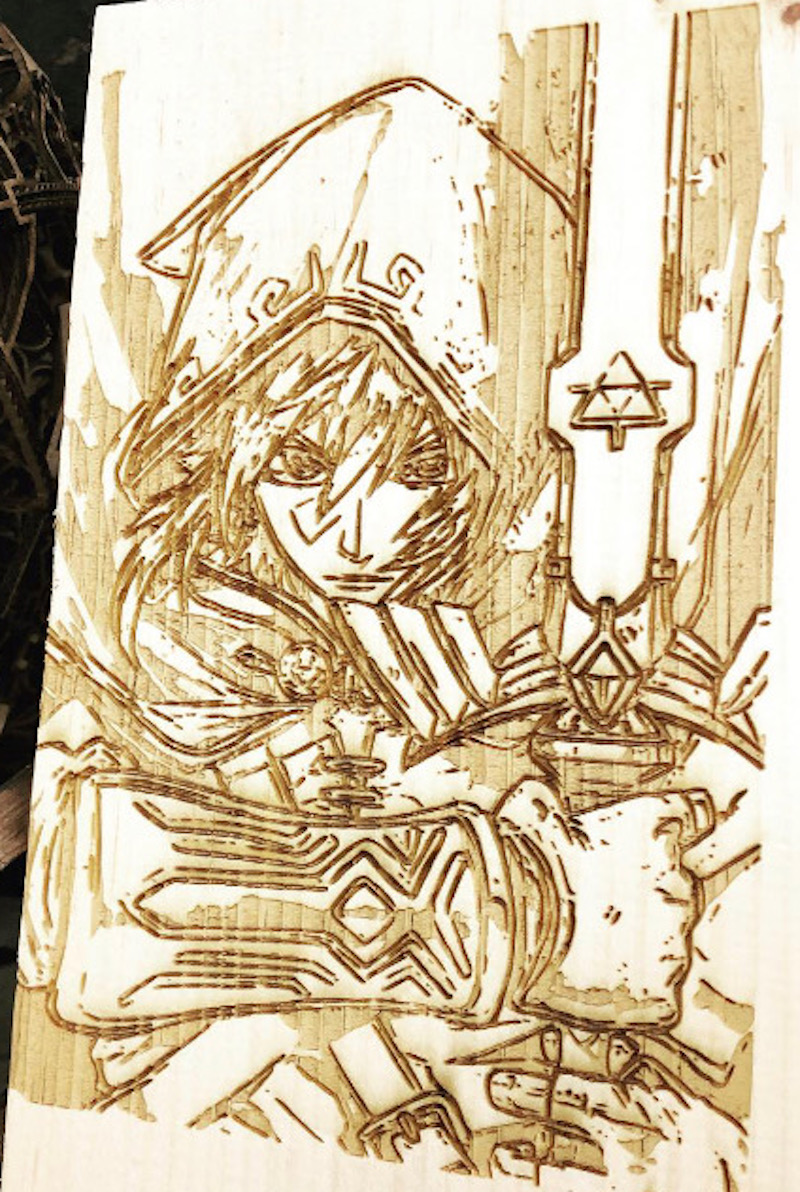
With that, the laser print should be set. You can see an example of how this looks by seeing how this tutorial's example turned out.
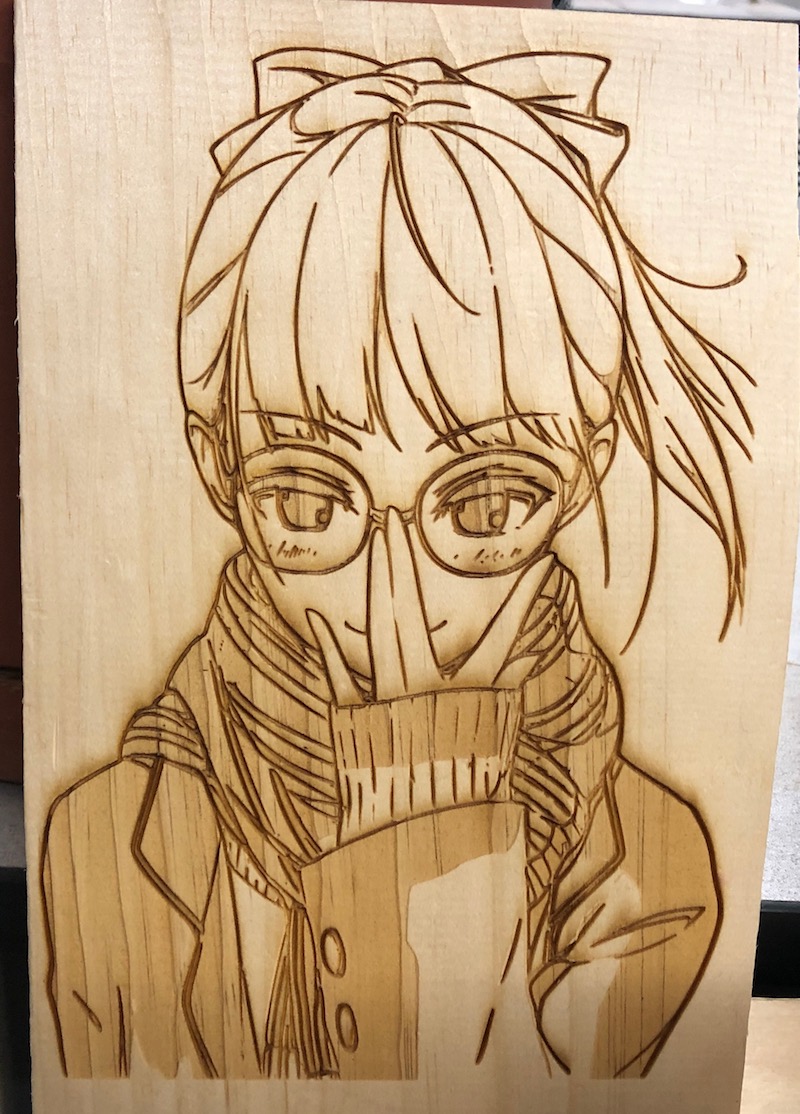
So please, go forth, laser-cut your artwork and photos, and share them with the MakeHaven world!
- Next Post: How I Killed My Site's Webpack Processes
- Previous Post: Getting my Coding Hands Dirty